Make a python script, save onto desktop as fixgamepad.py:

#!/usr/bin/env python3
import usb.core
import usb.util
dev = usb.core.find(find_all=True)
for d in dev :

   if d.idVendor == 0x045e and d.idProduct == 0x028e :
       d.ctrl_transfer(0xc1, 0x01, 0x0100, 0x00, 0x14)

Run it as sudo via a script .sh file
sudo python3 /home/graeme/Desktop/fixgamepad.py
You may need to download the Python USB interface

This initialises the gamepad with some bytes that lets it then be seen by Linux

Make a new file in
/usr/share/X11/xorg.conf.d/50-joystick.conf

As follows:

Section "InputClass"
  Identifier "joystick catchall"
  MatchIsJoystick "on"
  MatchDevicePath "/dev/input/event*"
  Driver "joystick"
  Option "StartKeysEnabled" "off" # Disable mouse support of joypad
  Option "StartMouseEnabled" "off"
EndSection

This stops the gamepad pretending to be a mouse.
I also installed Xboxdrv from the Package Manager as the driver, the gamepad seems a bit hit and miss with the stock xpad kernel driver.
I use JSTest GTK to test the inputs, and QJoypad to configure keyboard mapping for it.
This is a record of me getting a cheap laptop up and running for my personal use at work.
Selection Criteria
The laptop had to be cheap
Robust
Easy to work on e.g. I can add drives and RAM myself
Run Linux
New laptops are generally not cheap, this meant I had to look at some low spec ‘education’ type laptops, Chromebooks, or go second hand.
I looked at some low specification education laptops, and decided they were not what I was wanting. The screens were low resolution, and they had limited hardware.
Chromebooks were quite interesting, and I was quite attracted to their ecosystem, being able to run Linux. Again, unless I wanted to spend quite a bit of money the specifications were not particularly good.
Second hand can be tricky – you don’t know the hardware will be good, the laptop could have been dropped, spilled upon, breathed smoke or any number of possibilities. Ex-lease laptops can be pretty good, they are sold off cheap at the end of their lease and the value of them has been depreciated. Plenty of re-sellers get these, clean them up, install a fresh copy of Windows and sell them off to punters like me.
Going through the available models was interesting, I googled each model with reference to Linux to gauge how easy it would be for me to set up, and then did a search for material about working on the hardware.
Cult of ThinkPads
Then I found the cult of ThinkPads. This was me. Built like a proverbial brick shit house, very popular in the Linux world, and well supported in both hardware and documentation available from Lenovo.
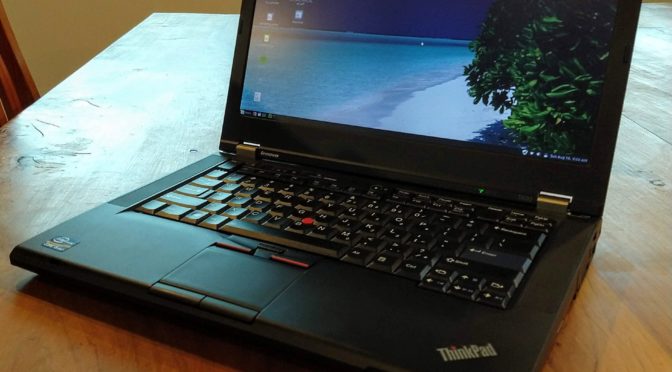
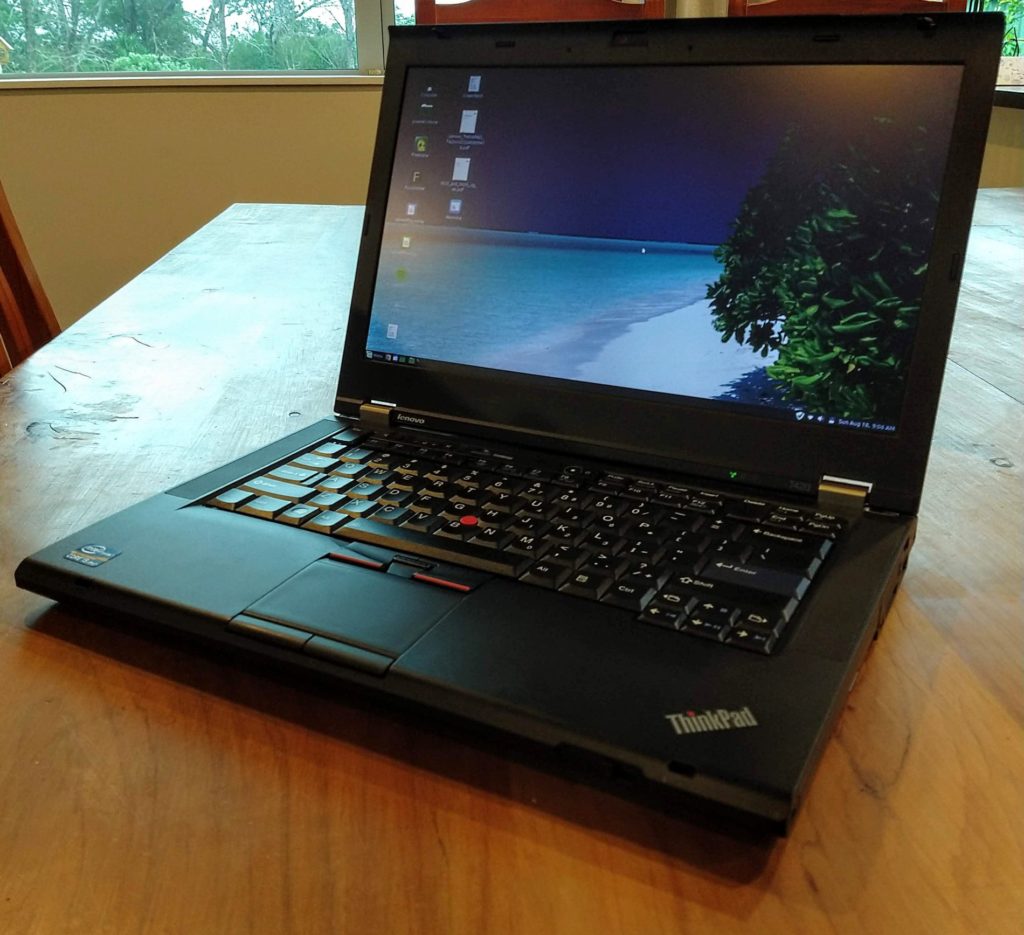
My choice was a Lenovo ThinkPad T420. It was a reasonable specification with a SSD, i5-2520m, 4gb of RAM and a few options including the 1600 x 900 screen, a WAN card, and a wifi card that covers both 2.4 and 5 Ghz bands. The SMART stats on the SSD showed only 200 boot cycles.
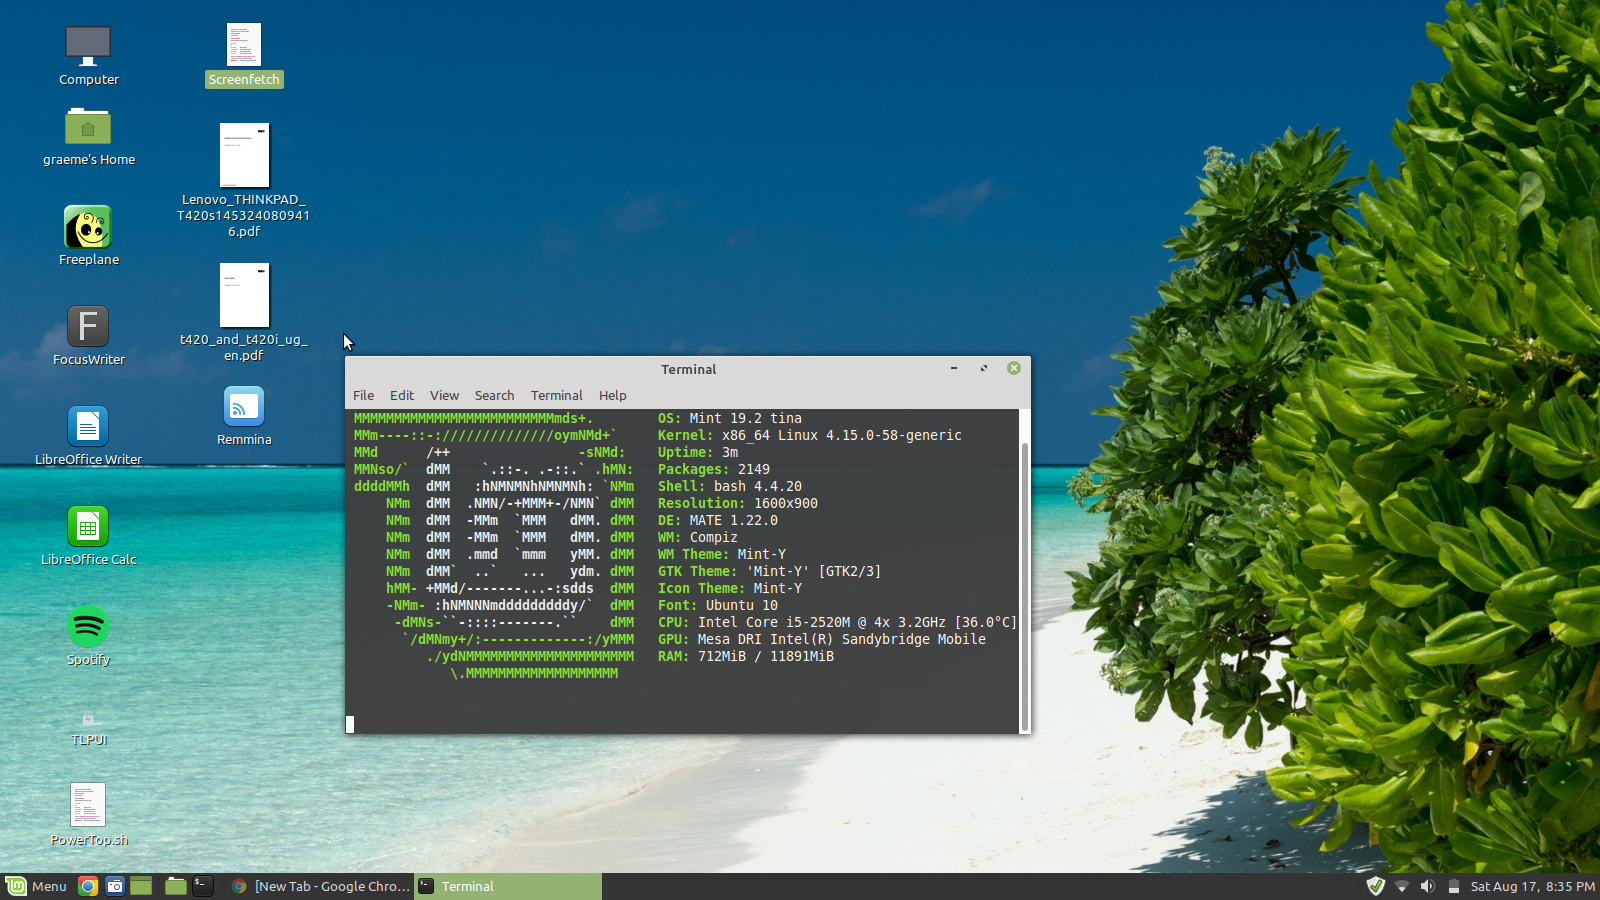
I used the Windows install on it to update the bios to the latest version from Lenovo, before formatting the SSD and installing Linux Mint 19.2 Mate onto it.
The install was good, default options all the way through, and no additional drivers required. I did have one very minor issue of screen tearing in Chrome – solved via a helpful redditor
Another stick of 8gb RAM was added (Crucial CT102464BF160B) to the existing 4gb to bring the total RAM up to 12gb. Later on I’ll add a larger SSD that might be a little faster than the current.
Perfect!
I’ve set up the work vpn and remote desktop access onto my work PC without too much drama, which gives me just about everything at my fingertips when using the T420… I’ve even had some complimentary remarks from workmates on it. It certainly stands out among the HP Ultrabooks and Macbook Airs at work!
With the network at work I had to add some Windows domain name resolution so I could use internal URLs –
Set up name resolution on a Windows network (work VPN)
sudo apt install winbind libnss-winbind
sudo nano /etc/nsswitch.conf and look for the line:

hosts: files mdns4_minimal [NOTFOUND=return] dns

Change that line to:

hosts: files mdns4_minimal [NOTFOUND=return] dns wins mdns4

Save and close the file.
I got an ultrabay SSD adaptor from ebay, and when it arrived I cloned the existing 120gb SSD onto a fresh 500gb SSD using CloneZilla, moved the 120 to the ultrabay (replacing the DVD drive), and the new 500gb into the main drive bay. I formatted the 120gb and set it up as the backup drive for Timeshift snapshots.